Installation
First, we need to install the service, we have two options, use Docker to have the service isolated or install it using NPM.
We're going to see how to install it using NPM.
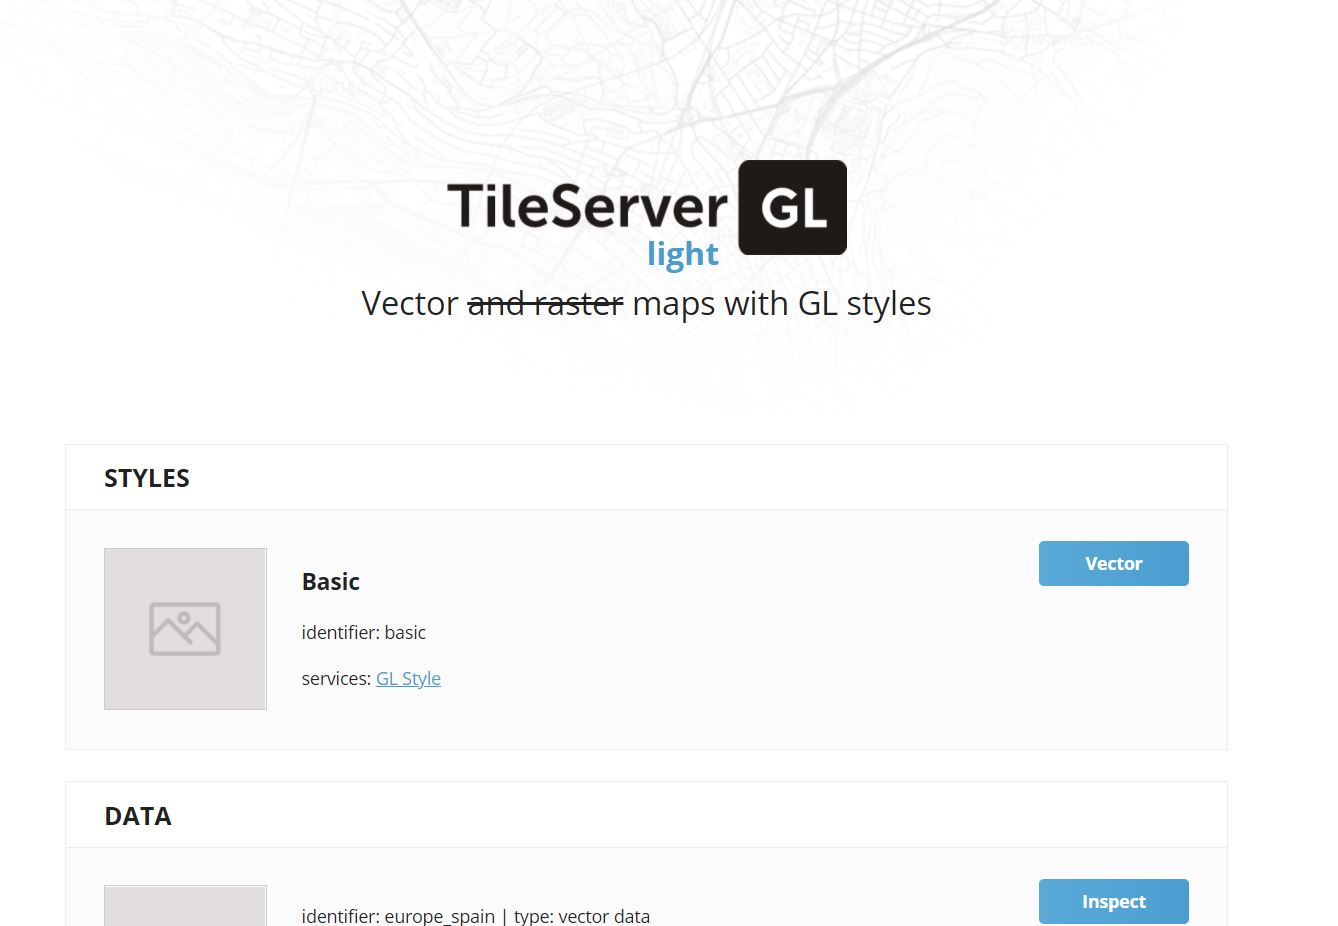
There are two versions "tileserver-gl" and "tileserver-gl-light", the light one can't create raster tiles, only vector tiles. We're going to install the light version 'cause we're not going to use the raster tiles.
npm install -g tileserver-gl-light
Once installed we're going to create all the required folders.
mkdir ~/tileserver
mkdir ~/tileserver/fonts
mkdir ~/tileserver/sprites
mkdir ~/tileserver/styles
Inside the tileserver folder, we should place the ".mbtiles" files with the map information. We can download this file from the Maptiler downloads.
Configure styles
Inside the folder "~/tileserver/styles" we should create a file with the styles for our map, the filename will be "basic.json", for example.
The content of this file depends on the needs of every project, in the following link, you will find the content of our file: basic.json content.
Configuration file
Another important file is the configuration file, located at the "~/tileserver" folder. This file specifies the styles and data sources to be used by the service.
As before the content of our configuration file is available for you: config.json content
Generate fonts
We need to generate the PBFs font files to show all the strings on the map. First, we access the "~/tileserver/fonts" folder and clone the fonts repository.
cd ~/tileserver/fonts
git clone https://github.com/openmaptiles/fonts
Next, we should install the NPM dependencies.
cd ~/tileserver/fonts/fonts
npm install
Once the dependencies had been installed, we can generate the fonts.
node ./generate.js
The PBFs files will be placed a the _output folder.
We move the generated fonts to the "~/tileserver/fonts" folder.
mv ~/tileserver/fonts/fonts/_output/* ~/tileserver/fonts
Once moved we can remove the "~/tileserver/fonts/fonts" folder.
rm -rf ~/tileserver/fonts/fonts
Test the service
Now we can check if the service is working correctly, to do that we need to execute the following command.
tileserver-gl-light -c ~/tileserver/config.json
If it works the service will be available at port 8080.

Create SystemD unit
To run the service as a daemon we should create a SystemD unit.
vi /etc/systemd/system/tileserver-gl-light.service
This file will contain the following:
[Unit]
Description=tileserver-gl-light

[Service]
ExecStart=/bin/bash -c "tileserver-gl-light -c config.json -s"
Restart=always
User=administrator # Change to your username
Group=daemon
WorkingDirectory=/home/administrator/tileserver # Change to the tileserver folder path

[Install]
WantedBy=multi-user.target
Once we modified the content of the file we should execute the following:
systemd daemom-reload
systemd enable tileserver-gl-light
systemd start tileserver-gl-light
After this, the service should be up and running.
To know more about Tileserver GL, please refer to the official docs. https://tileserver.readthedocs.io/en/latest/


